



How easy it is to ferment kombucha without a starter kit!
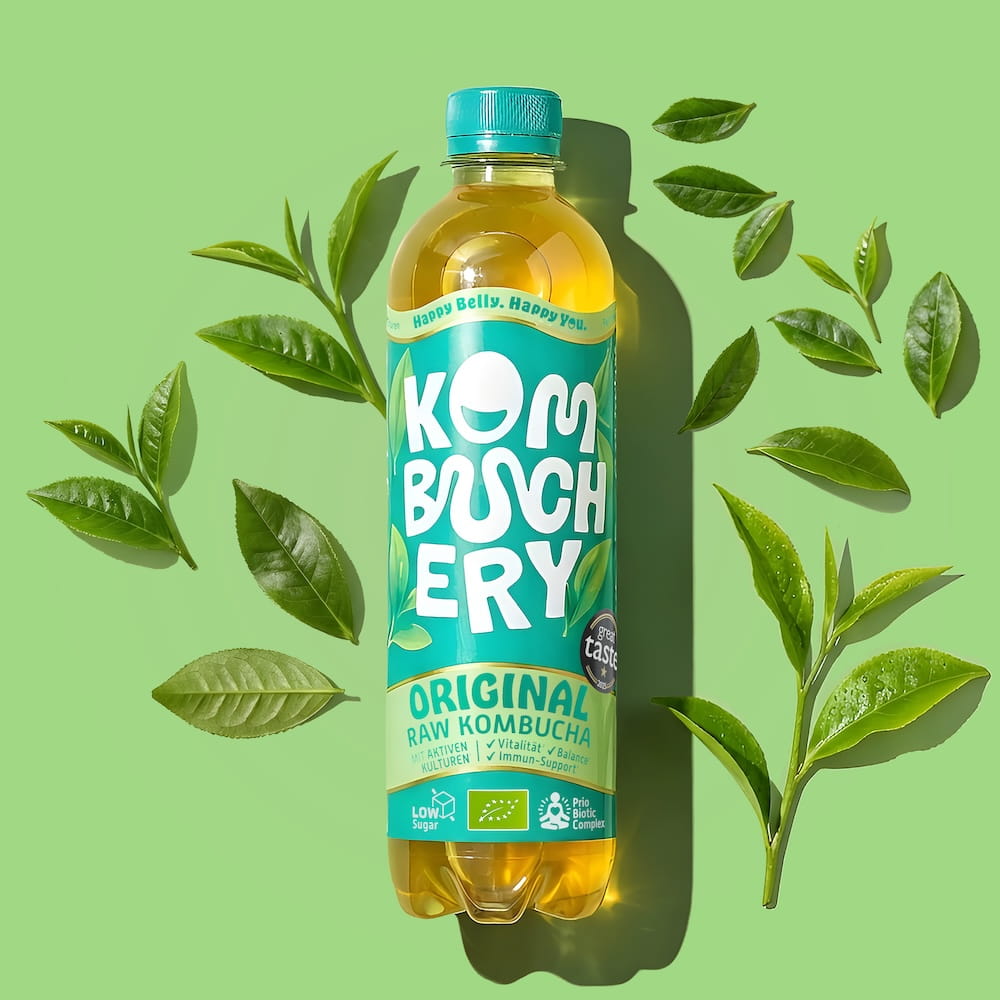
There are numerous providers online selling kombucha fermentation kits and starter sets. However, you don't necessarily need a ready-made kit to ferment kombucha at home. You can try to grow a new culture with a visible SCOBY layer from unpasteurized, natural kombucha, such as our Raw Original. A suitable starter liquid, clean working practices, and a little patience are important. The result cannot be guaranteed, as it depends on factors such as the composition of the kombucha and the fermentation conditions.
You will need the following items to grow your own SCOBY:
- 1 large glass container with a wide opening, thoroughly cleaned and free of detergent residue
- Tea – black or green tea without flavorings or artificial additives
- Organic raw cane sugar
- Water of drinking water quality; filtering is not strictly necessary
- Unpasteurized, natural kombucha as a starter liquid, for example Kombucha Original
- 1 clean, breathable cloth
- 1 rubber band to secure the cloth
- A clean, quiet place away from direct sunlight, at as stable a room temperature as possible

How you can try to grow a SCOBY from Raw Original kombucha:
- Prepare a sweet tea: Use 8 g of tea and 100 g of sugar per liter of water. Pour hot water over the tea and let it steep according to the type of tea. Then remove the tea leaves and completely dissolve the sugar in the tea.
- Let the sweetened tea cool completely to room temperature before adding the kombucha.
- Pour the cooled tea into a thoroughly cleaned glass container.
- Add about 10 to 20% unpasteurized, natural kombucha as a starter liquid. For one liter of sweet tea, this is approximately 100 to 200 ml. Make sure that the kombucha used is suitable as a starter.
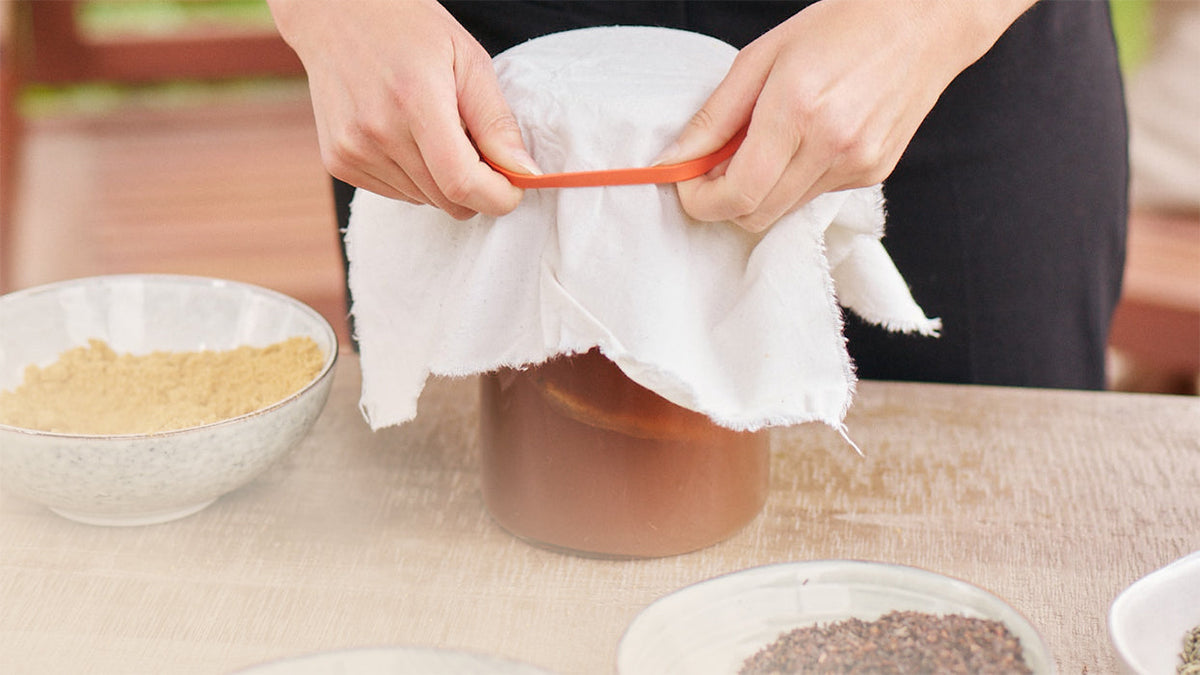
- Cover the opening with a clean cloth and secure it with a rubber band. This allows air to reach the liquid while keeping out insects and large contaminants.
- Place the container in a quiet place away from direct sunlight. Avoid large temperature fluctuations and check the starter regularly.
- Depending on the culture and conditions, it can take several weeks for a clearly visible, continuous SCOBY layer to form on the surface. A fixed duration of 7 to 21 days cannot be guaranteed.
At the beginning, small bubbles or fine streaks may form on the surface. Over time, a light, jelly-like layer may form there. It consists largely of bacterial cellulose and is part of the visible structure of the kombucha culture. Patience is important – but a new SCOBY layer alone does not prove that the starter is safe. If you see mold or noticeable, fuzzy discolorations, you should discard the entire starter and not taste it.

Next, we will explain how you can properly prepare your first kombucha without a starter kit. Have fun fermenting!
Before you can brew your kombucha, you will need per liter:
- 1 glass container with a volume of at least 1.5 liters and a wide opening, thoroughly cleaned
- 8 g black or green tea without flavorings
- 100 g sugar
- 1 liter of water of drinking water quality
- About 100 to 200 ml of suitable starter liquid from unpasteurized, natural kombucha or proven starter liquid; take the additional liquid volume into account when choosing the container size
- 1 clean, breathable cloth and a rubber band
If you have already grown a SCOBY layer, you can use it for the next batch. It does not have to look perfectly round or smooth. The visible layer can continue to grow during fermentation and form irregular shapes. It is important that you also transfer enough suitable starter liquid. You can find out how you can care for your SCOBY in our article about the SCOBY.

Brewing your first kombucha yourself – here we go!
- Bring 1 liter of water to a boil and prepare 8 g of black or green tea according to the recommendations for the respective type of tea. Let the tea steep and then remove the tea leaves.
- Add 100 g of sugar to the still-warm tea and stir until the sugar has completely dissolved.
- Let the sweetened tea cool completely to room temperature. Never add the SCOBY layer and starter liquid to hot tea, as high temperatures can damage the microorganisms involved.
- Add about 100 to 200 ml of suitable starter liquid. If you are already using a proven starter liquid, follow the quantity specifications of the corresponding recipe.
- Carefully place the SCOBY layer into the container. It may initially float on top or sink to the bottom. Neither is a reliable sign of success or failure on its own.
- Cover the opening with a clean cloth and secure it with a rubber band. Do not use an airtight lid for the first fermentation.
- Place the container in a clean place away from direct sunlight and check the starter regularly. The duration depends on the temperature, culture, and recipe. Check the progress and taste instead of relying exclusively on a fixed number of days.

During fermentation, yeasts and bacteria process components of the sweetened tea. The SCOBY layer can grow or change during this process. Even if the layer is at the bottom, this alone is not a reason for concern.
- Do not judge the progress solely by the number of fermentation days or by the appearance of the SCOBY layer. A pH meter can provide additional information, but it does not replace hygienic working practices or a suitable recipe. If mold forms or the starter shows noticeable discoloration, discard the entire liquid along with the SCOBY and do not taste any of it.
- For a new batch, you can keep the SCOBY layer together with enough suitable, already fermented kombucha liquid. Use a clean container and a proven guide for this.
- If you want to filter the liquid, use a clean, food-safe sieve. Filtering is optional and does not automatically remove possible unwanted microorganisms.
- If you want to perform a second fermentation in a closed bottle, use suitable, pressure-resistant bottles. Pressure can build up during carbonation. Check the bottles carefully, avoid overpressure, and refrigerate the kombucha once the desired level of carbonation has been reached.
You did it: You have learned the basics of your own kombucha – even without a ready-made starter kit. You can find further articles and recipes for second fermentation on our KOMBUCHERY blog.
Frequently asked questions about kombucha fermentation without a starter kit
Can I grow a SCOBY from store-bought kombucha?
This can be successful with unpasteurized, natural kombucha, provided that the culture contained is active and the starter is suitable for this. A new visible layer does not always form, and its appearance alone does not prove the safety of the starter.
How long does it take for a SCOBY to form?
This can take several weeks. The exact time depends on factors such as the culture, temperature, and composition of the starter.
Do I need to filter the water for kombucha?
Not necessarily. Water of drinking water quality is crucial. Whether additional filtering makes sense depends on the local water quality and the filter used.
Can I make kombucha without starter liquid?
For a more reliable start, suitable, sufficiently acidic starter liquid is important. A SCOBY layer alone does not replace it. Use a proven recipe with suitable starter liquid whenever possible.




Share:
2 comments
Hallo Naftalia,
wenn du unserem Original Kombucha Zucker hinzugibst und ihn eine Weile abgedeckt in einem Glas an einem warmen Ort stehen lässt, wird sich ein SCOBY bilden. Liebe Grüße!
Hallo ich mochte frage ob ich mit ihre kombucha raw in der flaschen auch ein kombucha scooby machen konnen?
Danke
Lg